South Pacific:
First Guadalcanal, Part Two
by Mike Bennighof, Ph.D.
October 2025
 At mid-day on the 12th, the Japanese air attack came in as expected, including a flight of low-level torpedo bombers. American anti-aircraft fire devastated the attackers, but a five-inch shell from one of the American ships instead struck the destroyer Buchanan, killing five men and wounding seven, shredding her after stack and destroying her torpedo tubes. She set out for Nouméa to begin a repair cycle that would last until February 1943. At mid-day on the 12th, the Japanese air attack came in as expected, including a flight of low-level torpedo bombers. American anti-aircraft fire devastated the attackers, but a five-inch shell from one of the American ships instead struck the destroyer Buchanan, killing five men and wounding seven, shredding her after stack and destroying her torpedo tubes. She set out for Nouméa to begin a repair cycle that would last until February 1943.
American anti-aircraft fire hit and damaged a G4M torpedo-armed bomber, that crashed into the American flagship, the heavy cruiser San Francisco. The crash killed 25 men and wounded 45 more, and started a fire that knocked out secondary control and the aft anti-aircraft radar and fire control. New skipper Cassin “Teddy” Young had taken over command just before San Francisco left Nouméa; he had been awarded the Medal of Honor for his raw personal courage in commanding the repair ship Vestal at Pearl Harbor. He now used that knowledge to oversee makeshift repairs that brought secondary control back online, but its effectiveness seems to have been limited when forced into action on the following night.
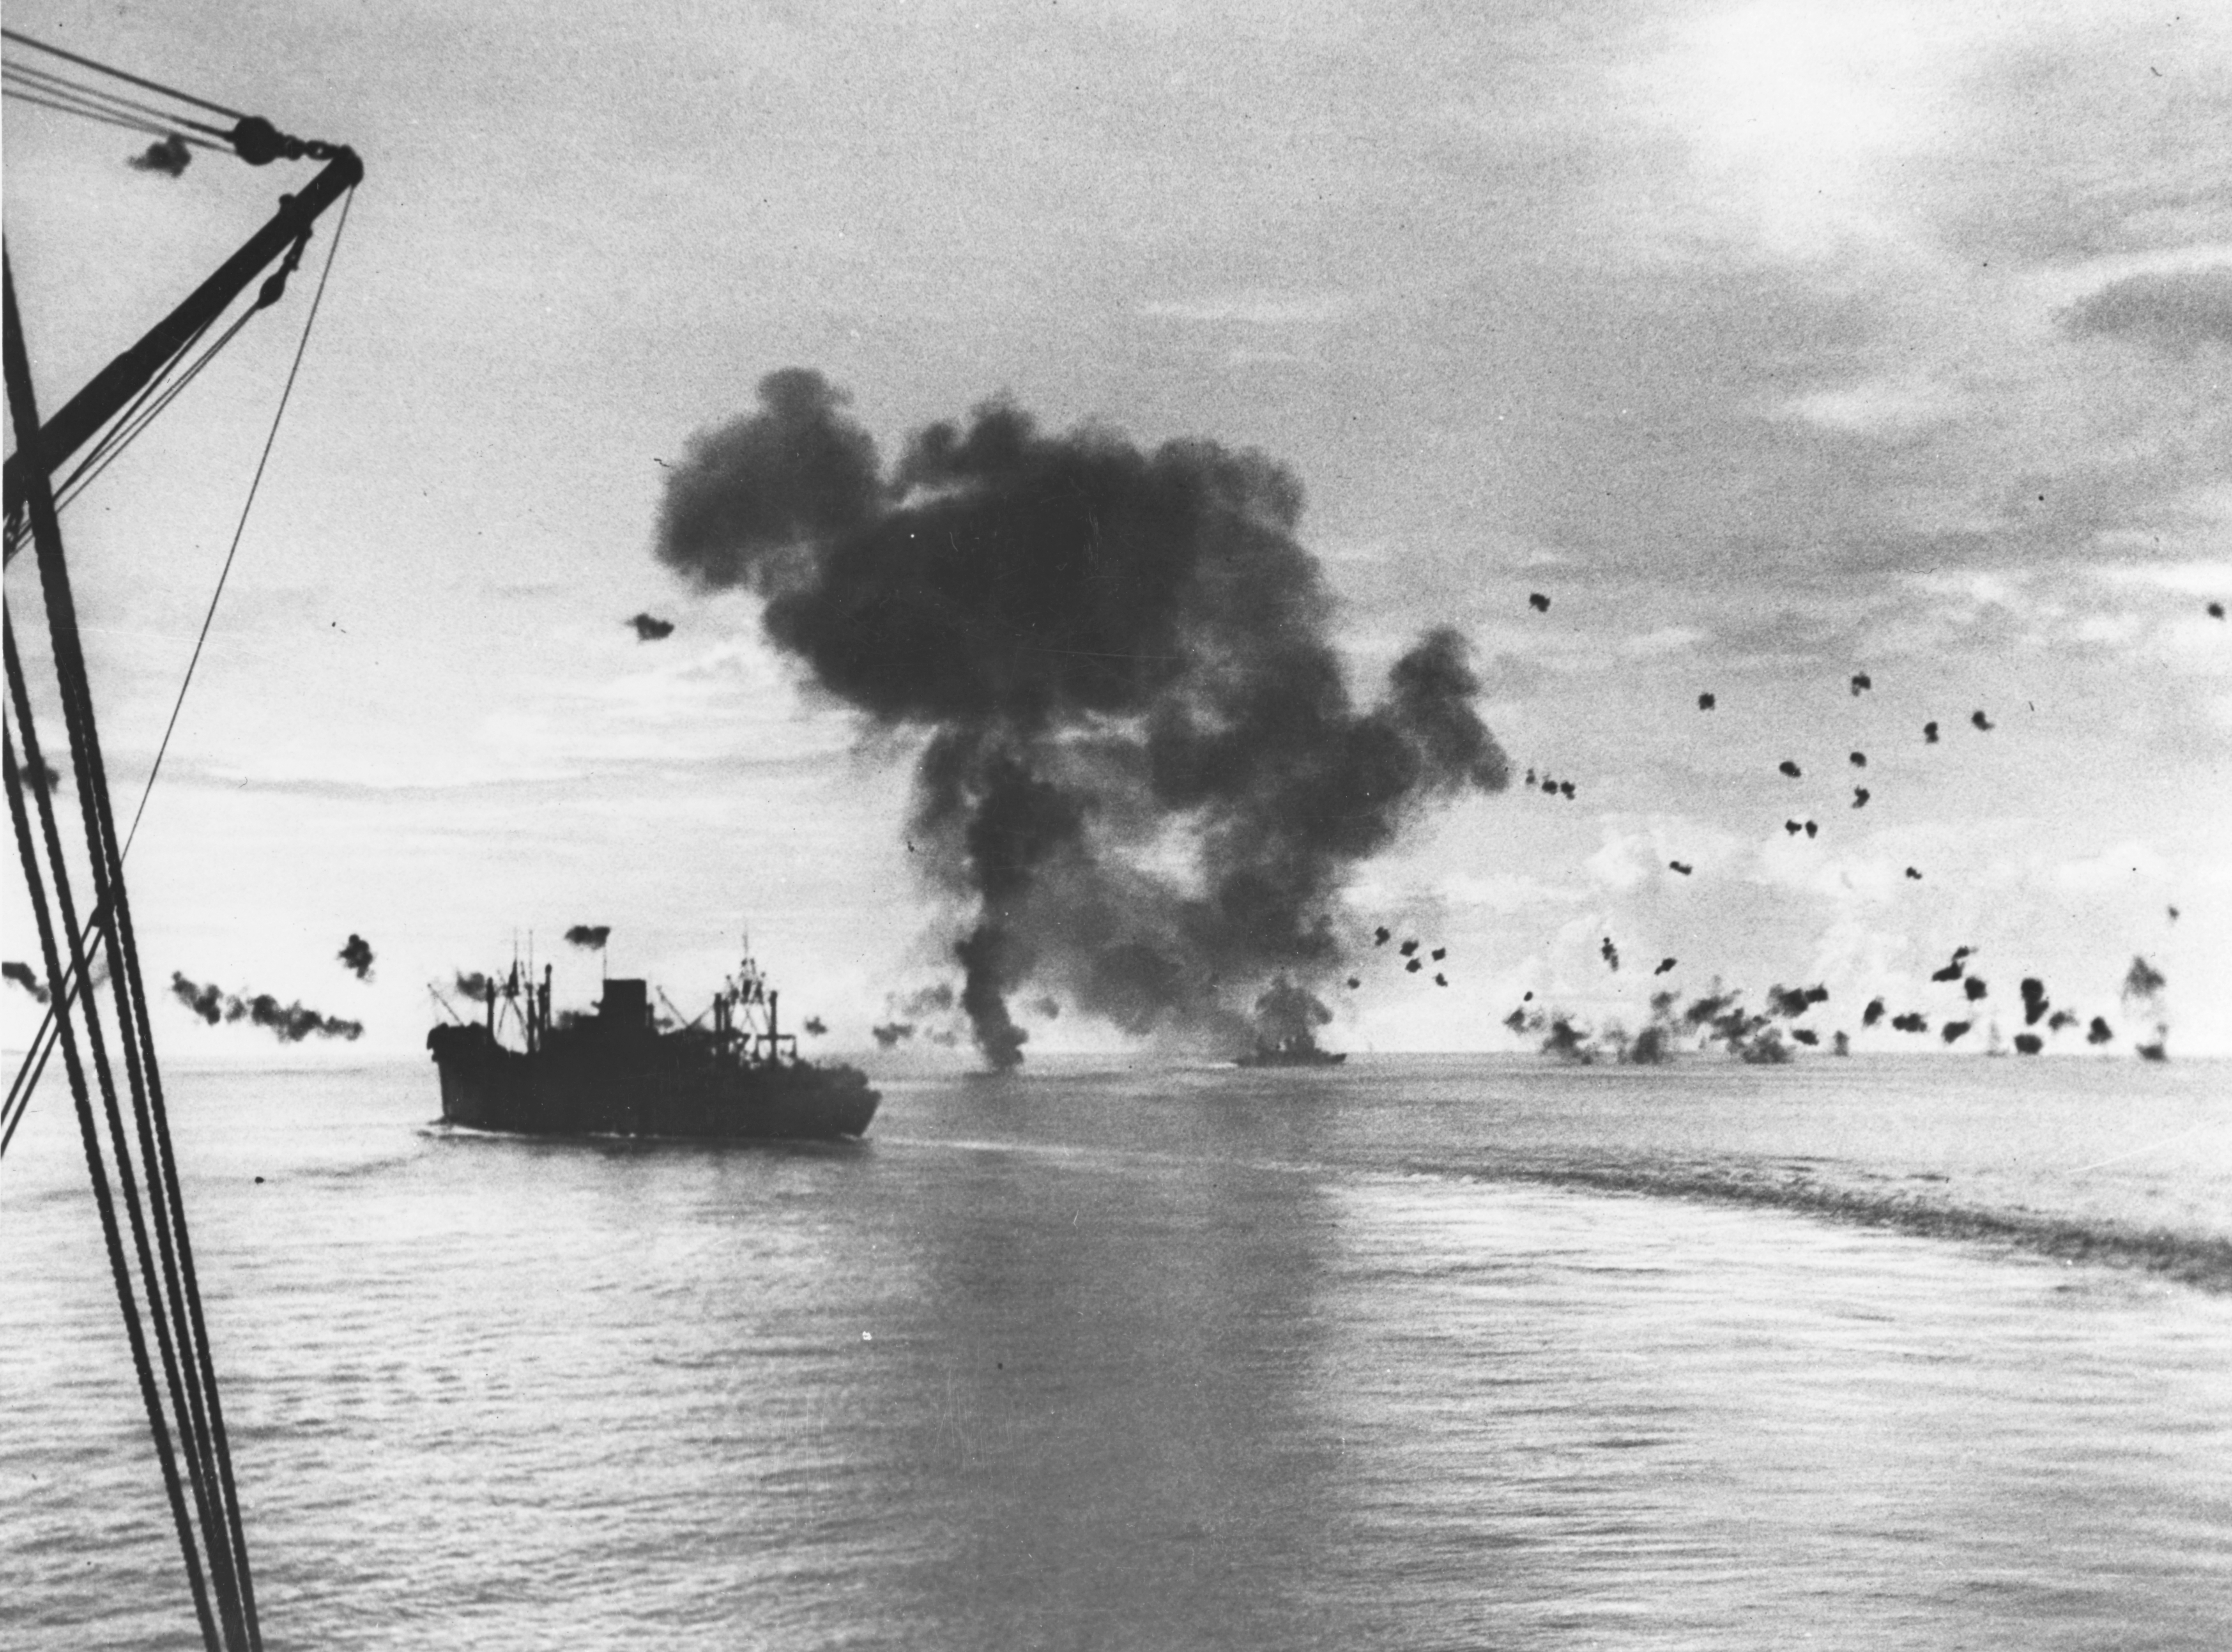
The transport President Jackson maneuvers under Japanese air attack, 12 November 1942. San Francisco (center background) has just been hit by a crashing Japanese bomber.
The carrier Enterprise, estimated to be at 70 percent effectiveness, departed Nouméa on the 11th, accompanied by the battleships Washington and South Dakota to maximize Task Force 16’s anti-aircraft potential, plus two cruisers and six destroyers (before the ships detached from Callaghan’s force joined them). The two battleships brought two more destroyers with them.
Meanwhile, Japanese Second Fleet commander Nobutake Kondo had detached Vice Admiral Hiroaki Abe’s “raiding unit” for the scheduled bombardment of Henderson Field. Abe had the battleships Hiei and Kirishima, Great War-era battle cruisers reconstructed in the 1930’s as fast carrier escorts, plus a light cruiser and eleven destroyers. Three more destroyers formed a distant patrol attached to his force.
Kondo had two more rebuilt battle cruisers, a pair of heavy cruisers, a light cruiser and five destroyers. But the operation’s planners, with Yamamoto’s approval, had once again gone with what they considered the minimum force necessary to complete the mission. This had been Japanese practice since Pearl Harbor (the hammer blow delivered there, with maximum force, turned out to be the exception rather than the rule).
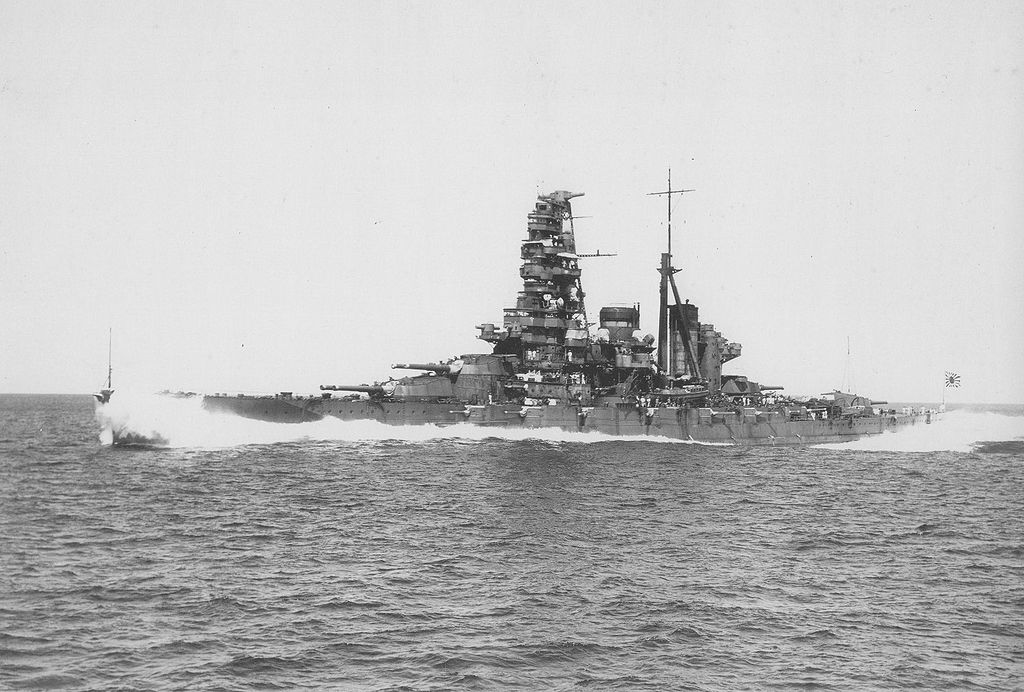
The Japanese fast battleship Hiei.
This reflects a crucial and ultimately destructive Japanese attitude toward the struggle with the Americans. Japan’s admirals well understood that the United States dwarfed Japan in terms of productive capacity. The U.S. Navy would grow steadily stronger as the war went on. If Japan suffered serious losses in engagements with the Americans, Japanese ships could not easily be replaced. Therefore, Japanese planners looked to minimize risk by sending out minimal forces, when they would have been better served by achieving local superiority with the attendant risk of more ships, planes, and men.
The American transports had left Ironbottom Sound, with Callaghan’s task force remaining to await the Japanese. American signals intelligence had missed the Japanese intent to bombard Henderson Field, but accurately forecast the convoy mission. Convoy commander Richmond Kelly Turner, Callaghan’s immediate superior, suspected that the Japanese would indeed shell the airfield, and ordered Callaghan to prevent them from doing so.
Callaghan placed his ships in line-ahead formation, as Norman Scott had done at Cape Esperance, with four destroyers in the lead, followed by Scott in Atlanta, Callaghan himself in San Francisco followed by Portland, Helena, and Juneau, and finally the remaining four destroyers. Callaghan repeated Scott’s successful formation, but also repeated his key error. Scott had likewise fought the battle from San Francisco’s flag bridge, but the cruiser still did not have the latest SG surface search radar; neither did Atlanta.
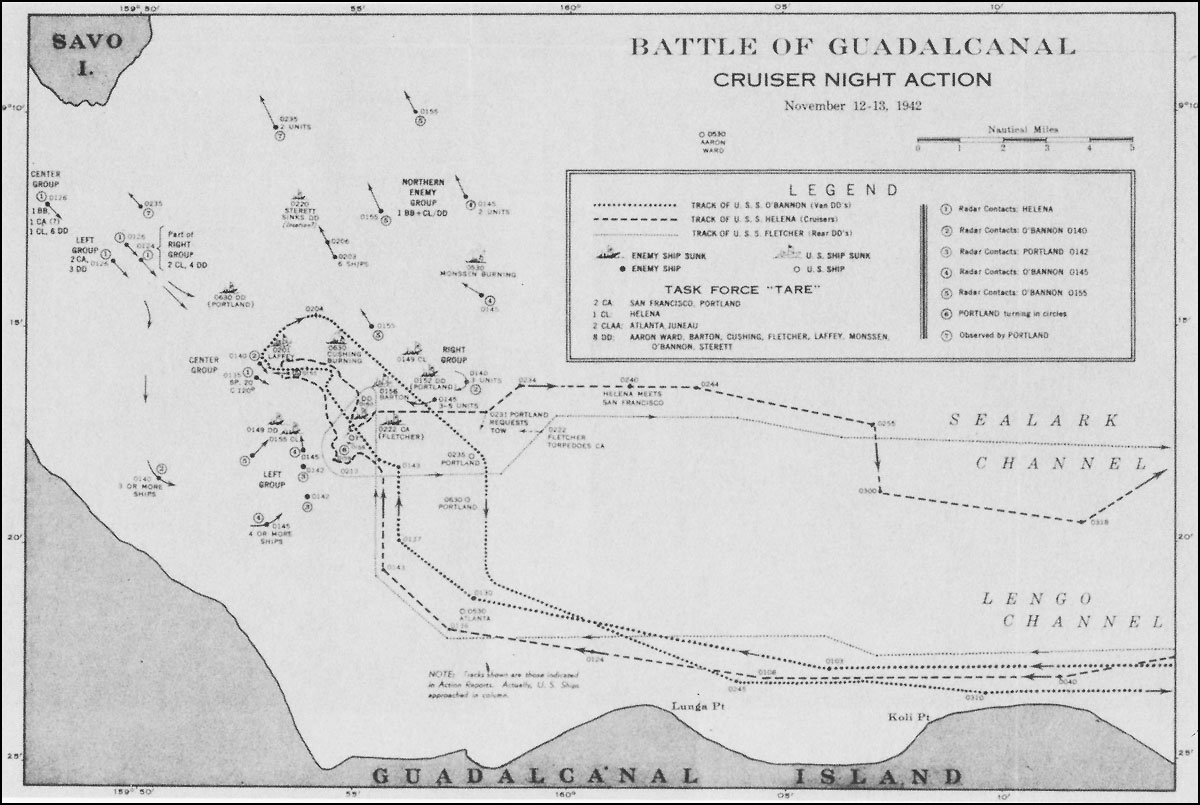
U.S. Navy track of the battle. Open in new tab to embiggen the image.
Abe, aboard Hiei, had ordered two abrupt turns in an effort to bring his ships out of a series of heavy thunderstorms that lowered visibility to nearly zero. He considered turning back, but the Imperial Navy station on Guadalcanal reported better weather over Ironbottom Sound and Abe’s fleet continued onward.
While the Japanese had left the rain behind them, they’d also disordered their formation, with the destroyers Harusame and Yudachi now well out in front of the “wedge” formation adopted by the other destroyers and their flotilla leader, the light cruiser Nagara. The two battleships steamed along in line-ahead formation, within the wedge of destroyers. At least that was the plan; in reality the Japanese had been scattered and only loosely held to their wedge.
Between the dark night and heavy cloud cover, neither side spotted the other even as the distance closed. The SG radar aboard Helena picked up the approaching Japanese, identifying two large objects the operators thought to be battleships. Callaghan received the report, but as yet his lookouts saw nothing and he did not give permission to open fire. When he finally told his odd-numbered ships to fire to starboard and even-numbered ships to port, the battle was already under way and the admiral’s order only added to the confusion.
At 0142 (it was now 13 November), the American destroyer Cushing and Japanese destroyer Yudachi sighted one another and almost collided. Thanks to the disordered Japanese formation, the initial sighting report from Yudachi only confused Abe and his staff aboard Hiei, until the battleship’s own lookouts sighted four possible enemy warships moments later.
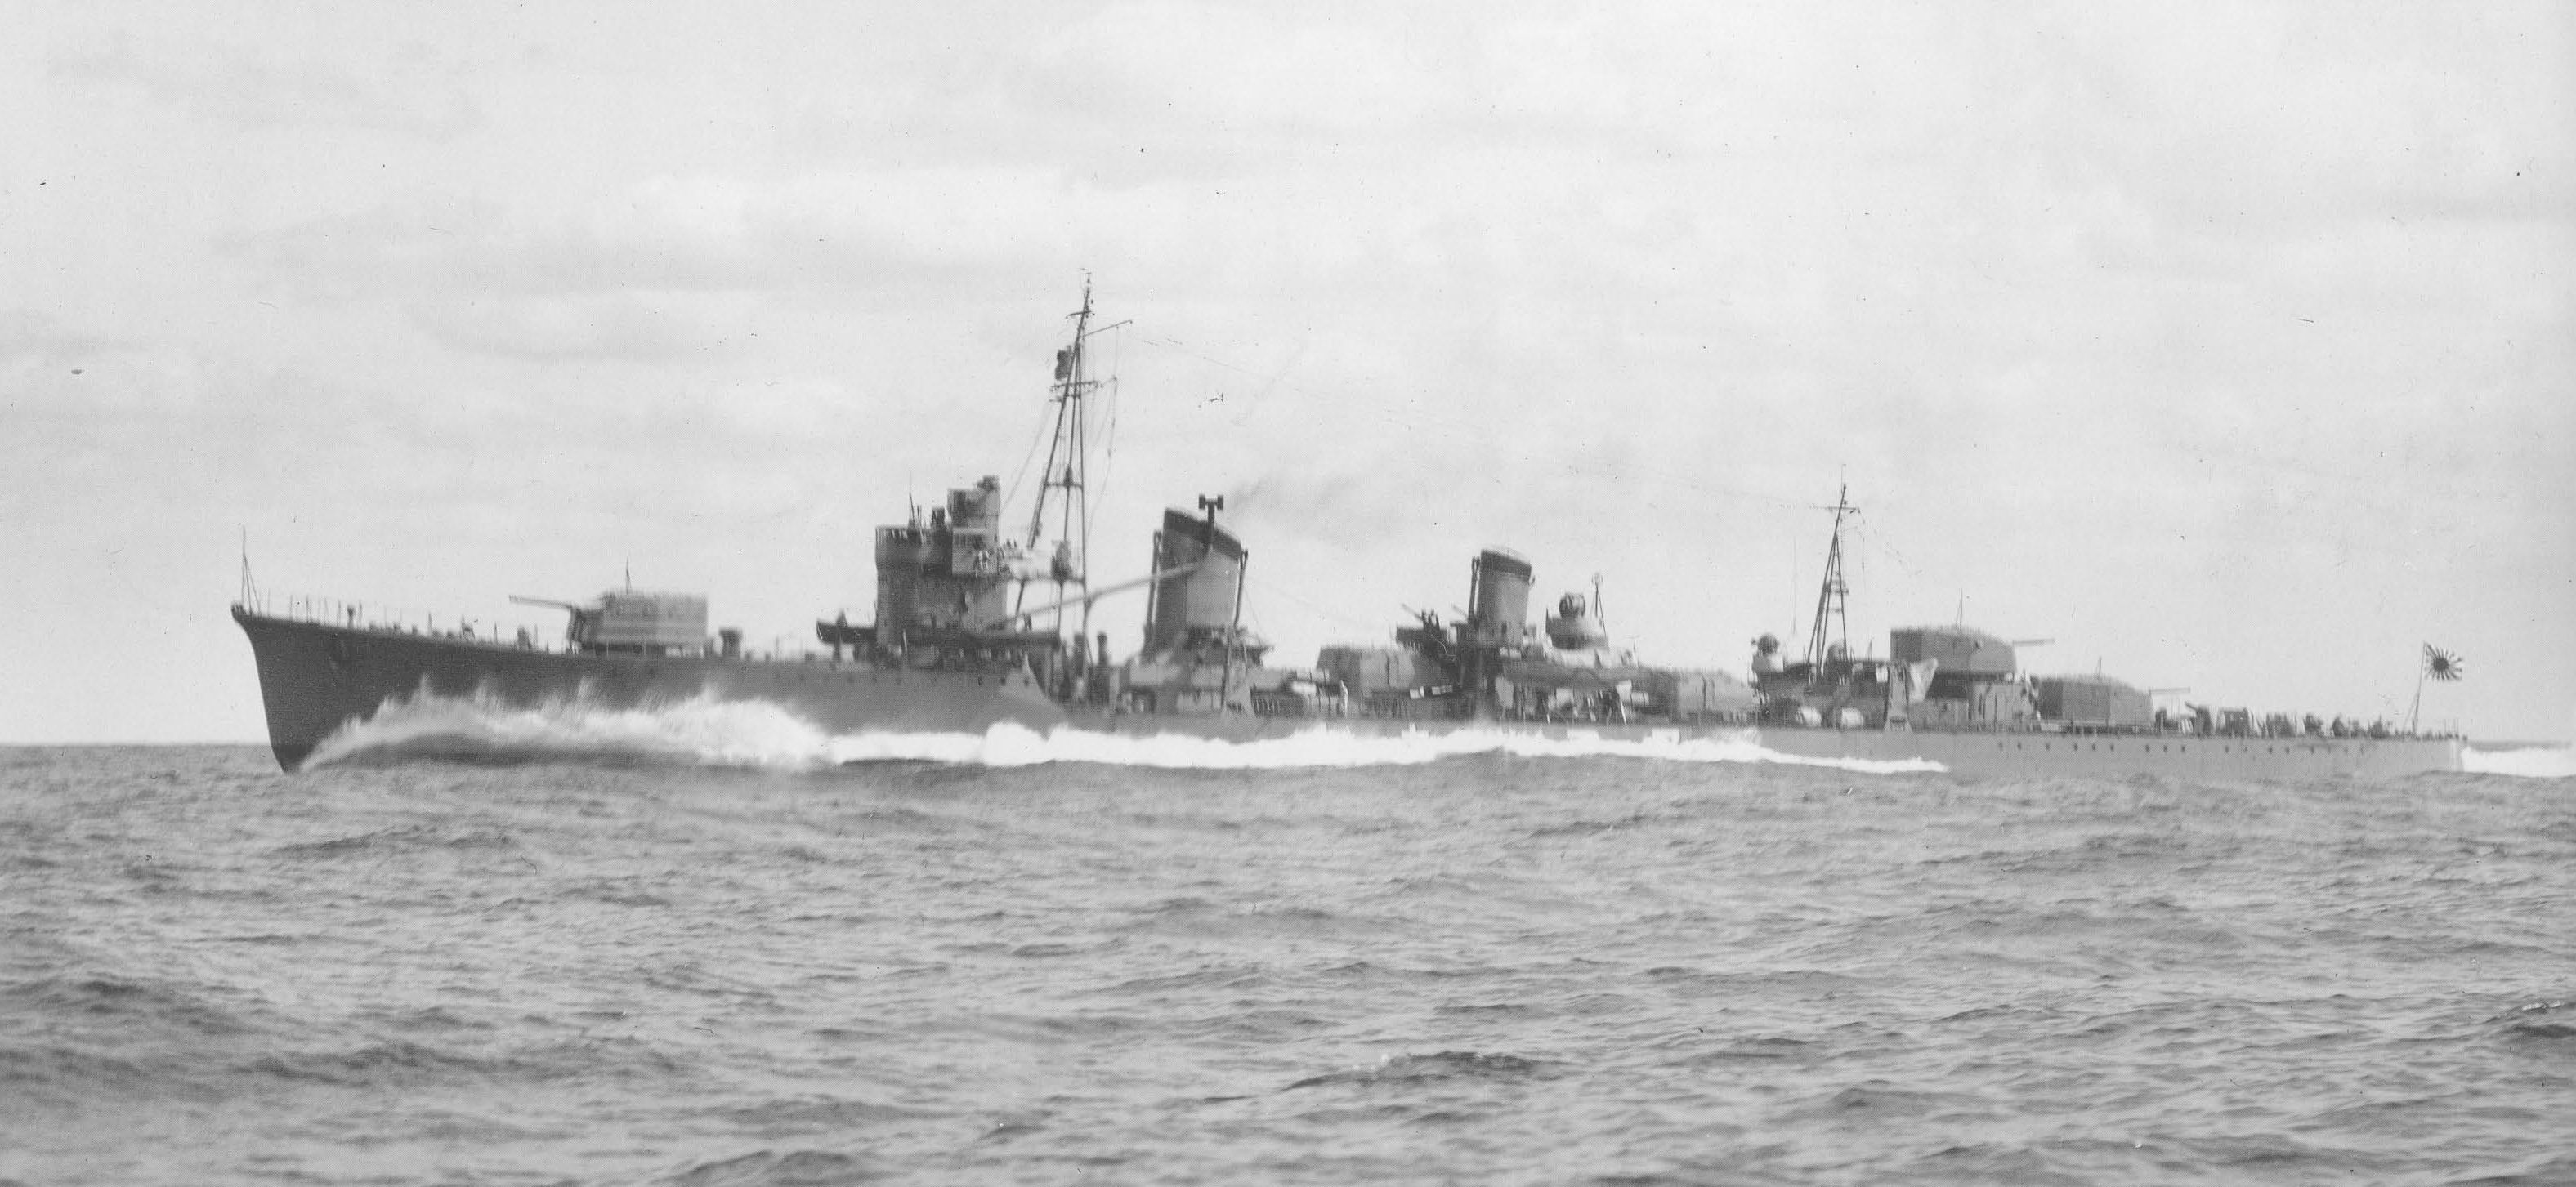
Japanese destroyer Amatsukaze, seen in 1939.
With the two formations charging one another at a relative speed of over 40 knots, they quickly became intermingled. Even as his lead destroyers dodged oncoming Japanese ships, Callaghan refused permission to launch torpedoes. But at 0150, Hiei’s searchlights lit up the cruiser Atlanta, while Akatsuki illuminated Helena. Both American cruisers opened fire on the light sources, firing at zero elevation due to the close range, and the free-for-all began.
Three of the Japanese destroyers that should have been in the van of the formation had ended up behind the battleships. These included Amatsukaze, skippered by Tameichi Hara, the author of the Imperial Navy’s torpedo-tactics manual. Hara took his boat past the Americans, and made a sharp turn to bring Amasukaze around to their unengaged side. A spread of eight torpedoes fired at the American destroyers at the end of the American line scored two hits on the destroyer Barton, which had come to a dead stop to avoid colliding with Helena. One hit her boiler room, the other her engine room, causing the destroyer to explode, break in half and sink almost instantly, taking 164 of her crew with her.
Another torpedo from that salvo struck the heavy cruiser Portland (some sources attribute the hit to Yudachi), destroying two of her four propellors, jamming her aft turret, and jamming her rudder into a starboard turn. The cruiser kept circling, firing her two forward turrets at targets when the circle allowed, at first Hiei and then later in the night the burning hulk of Yudachi.
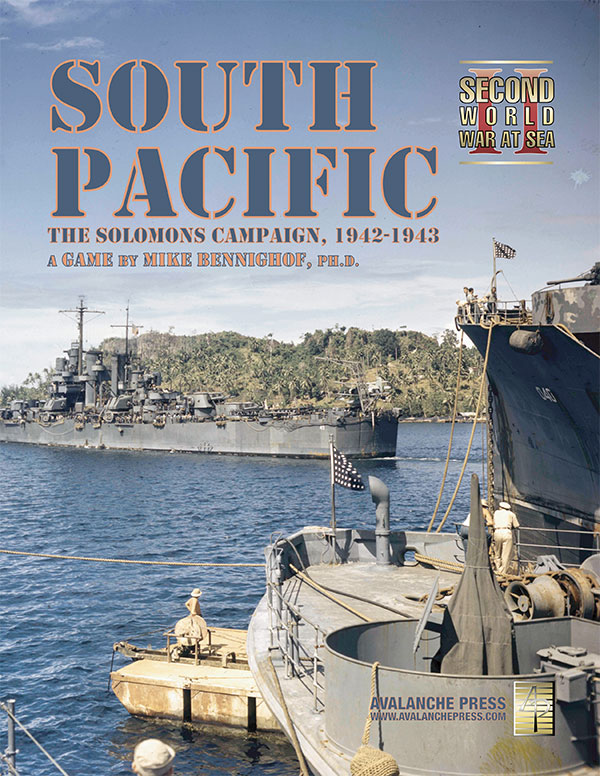
Order South Pacific Here.
Ironbottom Sound is a scenario book that expands Second World War at Sea: South Pacific. It comes with 36 new scenarios for South Pacific, extending the story through the Battle of Tassafaronga. All of the maps and pieces needed are included in South Pacific; the companion history book, Solomons Naval Campaign, comes bundled with Ironbottom Sound.
Order Ironbottom Sound Here.
Includes Solomons Naval Campaign book.
Order Solomons Naval Campaign Here.
Companion piece to Ironbottom Sound, or just read it separately.
Sign up for our newsletter right here. Your info will never be sold or transferred; we'll just use it to update you on new games and new offers.
Mike Bennighof is president of Avalanche Press and holds a doctorate in history from Emory University. A Fulbright Scholar and NASA Journalist in Space finalist, he has published a great many books, games and articles on historical subjects; people are saying that some of them are actually good.
He lives in Birmingham, Alabama with his wife, three children, and new puppy. He misses his lizard-hunting Iron Dog, Leopold.
Daily Content includes no AI-generated content or third-party ads. We work hard to keep it that way, and that’s a lot of work. You can help us keep things that way with your gift through this link right here.
|